Managing Instances
Once an instance is deployed, you can monitor its status, inspect its details, deploy add-ons, and delete it when it is no longer needed.
Viewing Instance Status
Accessing Instances
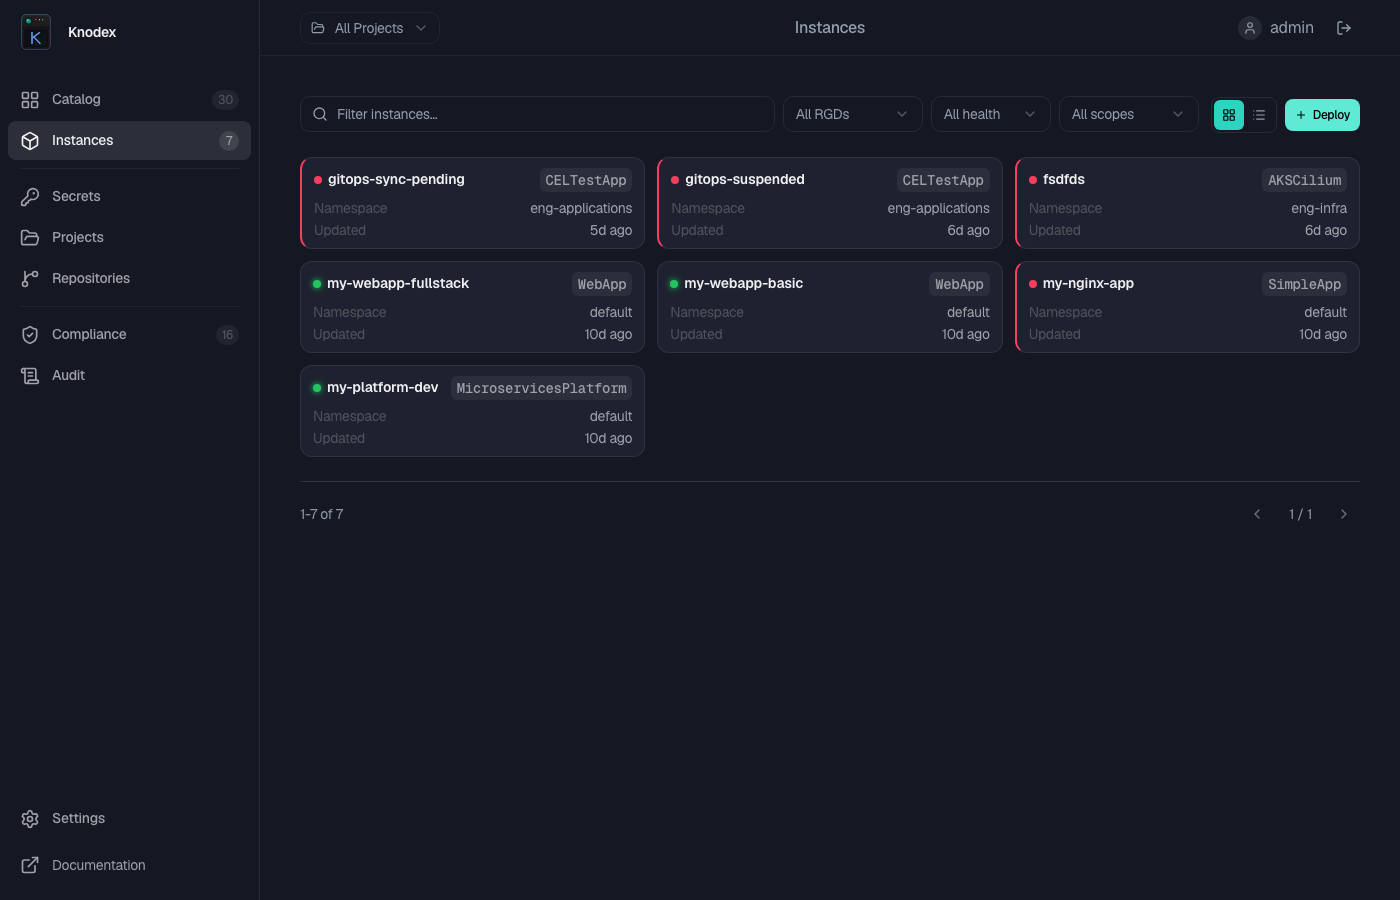
Navigate to Instances in the sidebar to see all deployed instances across your projects. The list shows each instance with its name, kind, namespace, project, and current status.
You can filter instances by project, namespace, status, or search by name.
Status Indicators
Each instance displays a status that reflects the health of its underlying Kubernetes resources:
| Status | Description |
|---|---|
| Healthy | All resources are created and healthy. The instance is fully operational. |
| Progressing | Resources are being created or updated. The instance is not yet fully ready. |
| Degraded | Some resources are unhealthy but the instance is partially operational. |
| Unhealthy | One or more resources could not be created or have entered a failed state. |
Instance Details
Click on an instance to open its detail page. The detail view provides:
- Status summary -- Current status with conditions and events from the underlying resources
- Parameters -- The configuration values used to deploy this instance
- Resources -- List of Kubernetes resources created by this instance with their individual statuses
- Events -- Recent Kubernetes events related to the instance and its resources
Deploy Add-ons
The Add-ons section on the instance detail page lists RGDs that can extend this instance. Add-on RGDs use an externalRef field to reference the parent instance.
To deploy an add-on:
- Click Deploy Add-on on the instance detail page.
- Select the add-on RGD from the list.
- The deployment form opens with the
externalRefpre-populated with the parent instance reference. - Fill in the remaining parameters and deploy.
Add-ons are tracked as separate instances but are logically linked to the parent.
Deleting Instances
Deleting an instance removes all of its underlying Kubernetes resources. This action cannot be undone. Make sure you have backups of any data stored by the instance before proceeding.
To delete an instance:
- Navigate to the instance detail page.
- Click Delete in the header.
- Confirm the deletion by typing the instance name.
- The instance and all its managed resources are removed.
Deletion requires the developer role or higher in the instance's project.
Coming Soon
The following features are planned for upcoming releases:
- View deployment logs -- Stream container logs directly from the Knodex UI for troubleshooting.